A few months ago, I posted about wanting to Learn more Python
The best way I learn new things is by making something. If I can make something thats useful for me, even better !
So I decided to try and create a Raspberry Pi build Status light for this blog.
Required Items
- A Raspberry Pi (I am using a Raspberry Pi 2 Model B running Raspbian Stretch)
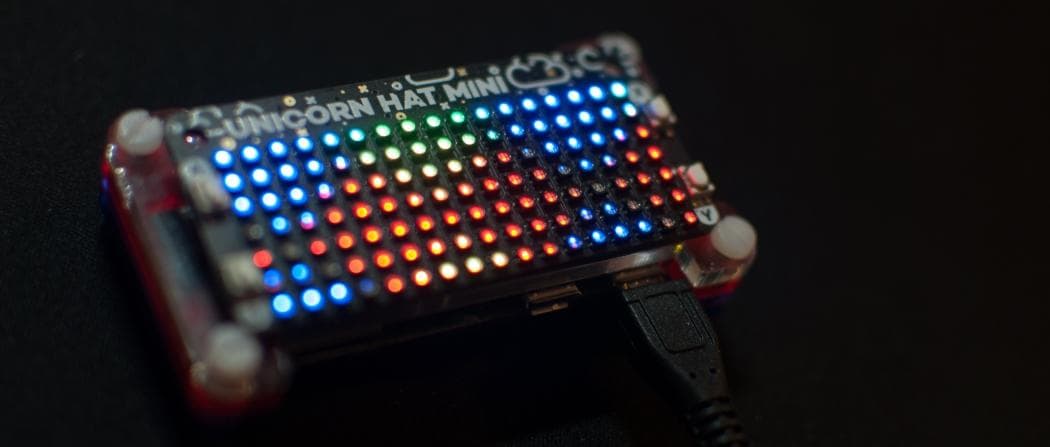
- A UnicornHatHd from Pimoroni
- A Gitlab account and a Repository. The Repository does not have to be Public. I use Gitlab as this Blogs Source Code Repository and have a CI/CD pipeline set up, so I wanted to also see what the api on Gitlab was like.
The GitLab Api
So I went straight to https://docs.gitlab.com/ee/api/api_resources.html
Looking around, I found the section on Pipelines
In order to use the Api, you need to know the Id of your Repository and set up a Token to allow you access.
Access tokens are configured in your Gitlab Account Settings. You can set a limit on the type of access and for how long.
The examples in the Gitlab Api Docs all use the CURL command line tool
so by passing
curl --header "PRIVATE-TOKEN: <your_access_token>" "https://gitlab.com/api/v4/projects/<your repo Id>/pipelines"on the command line, you should see a json response of your pipelines for the Repo.
Using Python
Using Curl is Ok for testing the api. But what about calling it from Python ?
A quick google led me to the very nice Requests Http Library
using Requests you can make a simple GET
res = requests.get(targetUrl, headers=headers)which returns an object you can manipulate.
so with with a little bit of work I created a Class in python that could call the Api to get the Pipeline Status from a Repo
import requests
import json
from string import Template


class GitLabPipeLine:
    url = ""
    token = ""
    pipeLineUrl = Template('https://gitlab.com/api/v4/projects/$n1/pipelines')

    def __init__(self, repoId, token):
        self.repoId = repoId
        self.token = token
        self.url = self.pipeLineUrl.substitute(n1=self.repoId)

    def GetLatestStatus(self):
        headers = {'PRIVATE-TOKEN': self.token}
        res = requests.get(self.url, headers=headers)

        pipelines = json.loads(res.text)
        pipeline = pipelines[0]

        return pipeline['status']
Leds... Shiney !
I took a demo example from the Pimoroni site for the UnicornHatHd and tweaked to suit my needs
class LedDisplay:

    # default constructor
    def __init__(self, messageTemplate):
        unicornhathd.rotation(270)
        unicornhathd.brightness(0.7)

        self.Font = ('/usr/share/fonts/truetype/freefont/FreeSansBold.ttf', 12)
        self.message = Template(messageTemplate)

    def ShowSuccess(self):
        colour = (0, 255, 0)
        mess = self.message.substitute(n2="Successful")
        self.displayText(mess, colour)

    def ShowFailure(self):
        colour = (255, 0, 0)
        mess = self.message.substitute(n2="UnSuccessful")
        self.displayText(mess, colour)
The first section sets up some methods to be called by the main.py script
The rest of the code renders the message to UnicornHatHd
   def displayText(self, message, msgColour):

        width, height = unicornhathd.get_shape()

        text_x = width
        text_y = 2

        font_file, font_size = self.FONT

        font = ImageFont.truetype(font_file, font_size)

        text_width, text_height = width, 0

        try:
            w, h = font.getsize(message)
            text_width += w + width
            text_height = max(text_height, h)

            text_width += width + text_x + 1

            image = Image.new('RGB', (text_width, max(16, text_height)), (0, 0, 0))
            draw = ImageDraw.Draw(image)

            offset_left = 0

            draw.text((text_x + offset_left, text_y), message,
                      fill=(msgColour[0], msgColour[1], msgColour[2], 255), font=font)

            offset_left += font.getsize(message)[0] + width

            for scroll in range(text_width - width):
                for x in range(width):
                    for y in range(height):
                        pixel = image.getpixel((x + scroll, y))
                        r, g, b = [int(n) for n in pixel]
                        unicornhathd.set_pixel(width - 1 - x, y, r, g, b)

                unicornhathd.show()
                time.sleep(0.03)

        except KeyboardInterrupt:
            unicornhathd.off()

        finally:
            unicornhathd.off()
so all that is left to do is
Sudo Python main.pyTa Da !!!

Apologies for the mobile phone camera shake 😏
Hopefully you can see how fairly simple it is to build your own Build Status Light with a Raspberry Pi
Options to extend the code could be :-
- Make the code work with a Github repo
- Make the code work with other devices or a simple LED
- Add more animations for the UnicornHatHd
You can see the source code on my Gitlab
References
https://github.com/pimoroni/unicorn-hat-hd