
In the last couple of years, I have seen a few new hosting services enter the market place with a focus Static Site Hosting.
I wanted to see what the experience was like, taking a static site written in a framework like Nuxt.js and then deploying it from Gitlab using one of these services.
In a previous Post I looked at using Surge.sh.
In this post I am going to look at Netlify.
Netlify
Netlify is a Platform that consists of 3 Main elements :-
- Netlify Build - This is the CI/CD section of Netlify. You give Netlify Access to a Git Repo and it Build and Deploys the application
- Netlify Edge - This is Netlify's resilient network, which offers more over a traditional CDN
- Netlify Functions - This is Netlify's Back end service, allowing you to author Serverless functions. Currently you can author these functions in Javascript or GO
Netlify also offers support for Sitecore, Drupal and Wordpress.
The company has been a advocate of the JamStack. They even offer a free E-Book to download.
Netlify offers a free account, per member per month pricing and Custom Enterprise pricing more details are here.
Using Netlify with Gitlab
Netlify Build takes care of all of this for you
In Netlify, you create a new Site/App
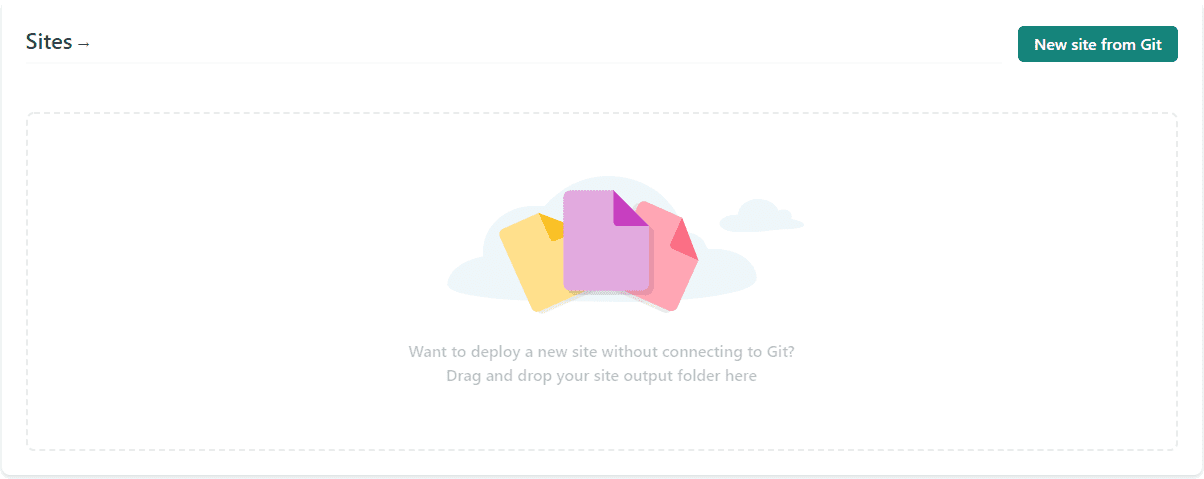
You tell Netlify your choice of Source Control Repo
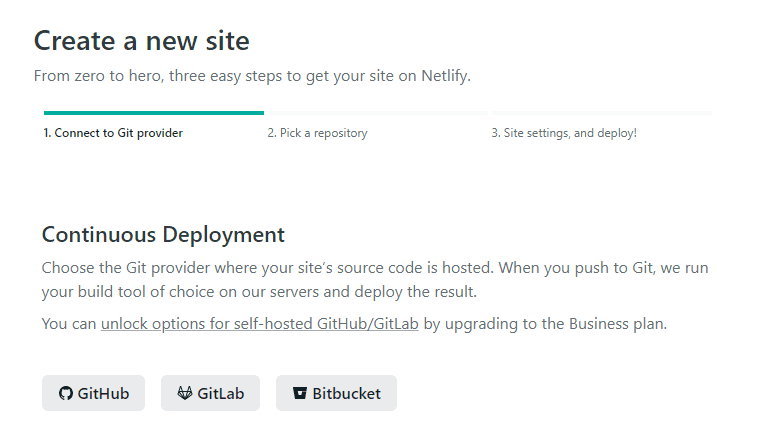
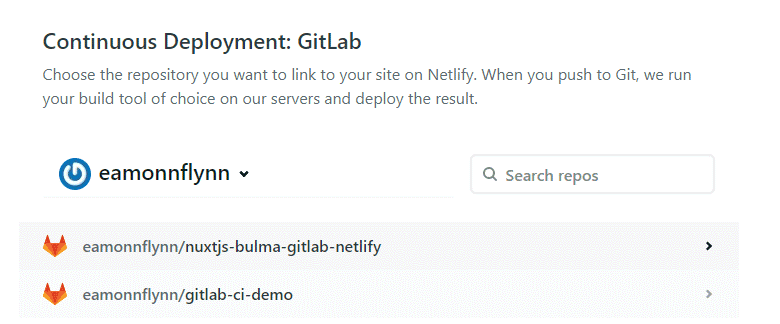
You then associate your Gitlab account with Netlify.
You enter the Repo you want to use
You then have to complete a couple of details
In Nuxt.js to publish a site you use the Generate command. I like to use Yarn so the command is
yarn generateBy Default, Nuxt Builds to a dist folder
so we just need to tell Netlify this
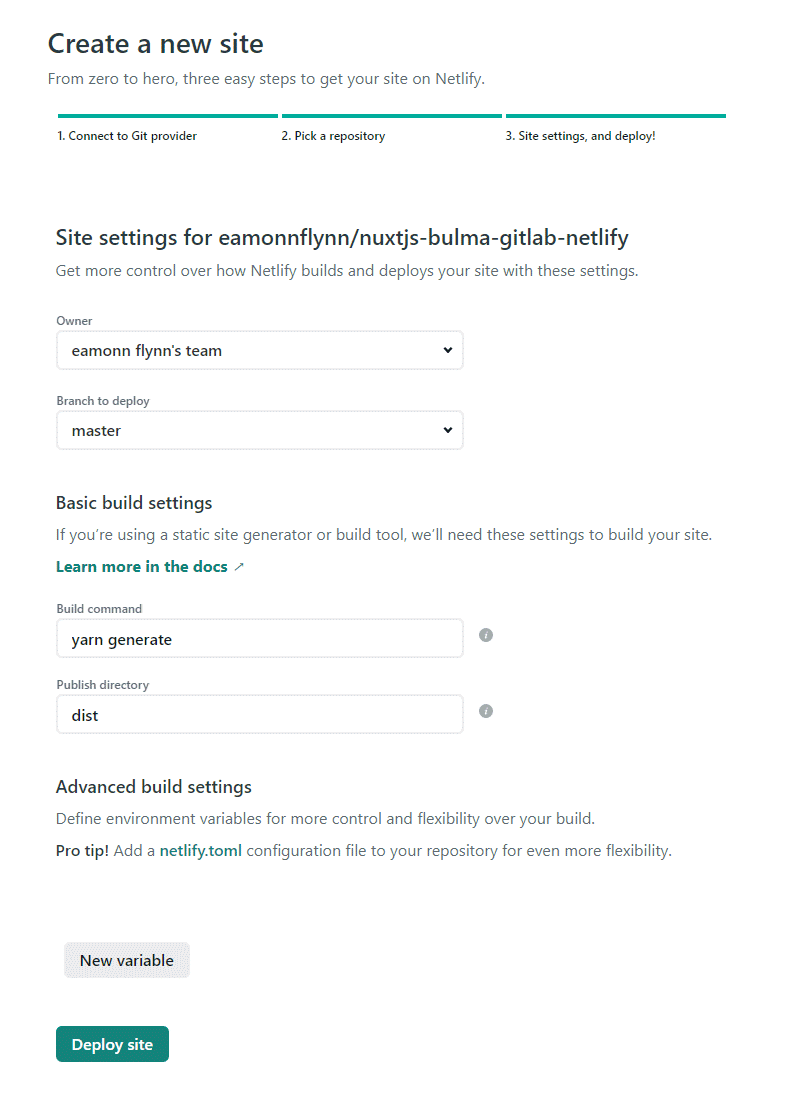
Now we are ready, so Click the Deploy site Button !!
Netlify automatically starts the Build
after a minute or two, the build should complete and you should see a log similar to the following
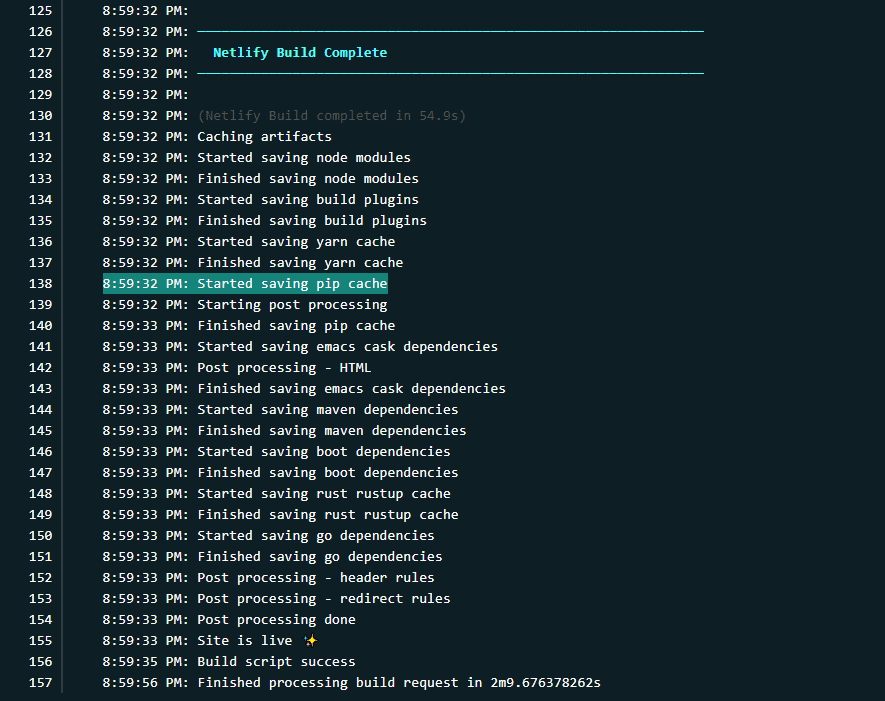
You can now browse the site using the custom domain generated by Netlify.
Summary
Deployments using Netlify are a complete Breeze, you perform the steps shown above and you have a running site in minutes. There are limitations with the Free account so unless its for basic demos or really simple sites you are probably going to look to upgrade.
For me a really nice feature was no demand for a Credit/Debit Card before activating the free account. I guess when you exceed the limits you get no more until the following month or you add payment details.
I did not try setting up a pre-owned domain or applying HTTPS with Let's Encrypt so I cannot comment on how easy this was.
I have not yet looked at the built in Identity provider or writing a serverless function.
If you are finding the Google Cloud, AWS or Azure a little daunting or want something a little more simple and straightforward then definitely take Netlify for a spin.