
In the last couple of years, I have seen a few new hosting services enter the market place with a focus Static Site Hosting.
I wanted to see what the experience was like, taking a static site written in a framework like Nuxt.js and then deploying it from Gitlab using one of these services.
In previous posts, I looked at using :-
In this post I am going to look at Vercel
Vercel
Vercel (previously known as Zeit) brands itself as a cloud platform for Static Sites and Serverless Functions. It enables developers to host websites and web services that deploy instantly, scale automatically, and requires no supervision, all with no configuration.
The Company is also responsible for the Next.js framework and brands its platform as the platform for Next.js
Vercel offers a free "Hobby" account which is for non-commercial use, per member per month pricing and Custom Enterprise pricing more details are here.
Using Vercel with Gitlab
You need to create an account and associate your Gitlab account with it
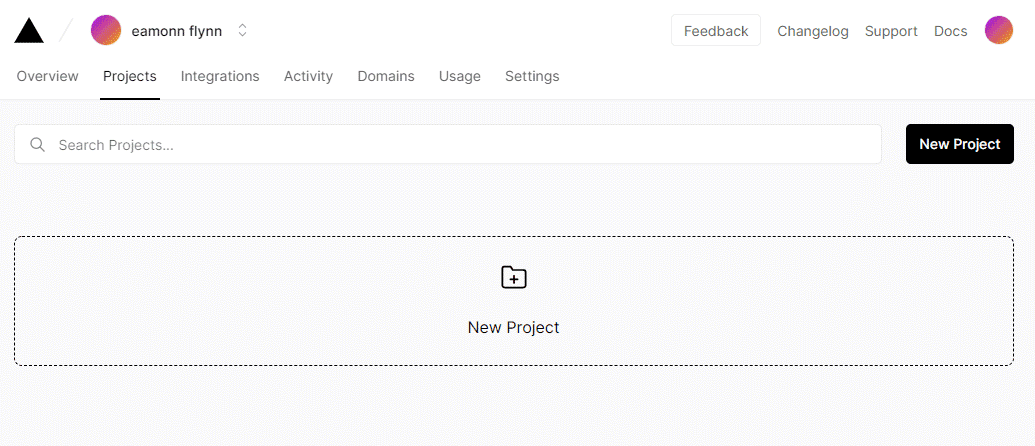
Once you have done this, You can go to the Project option and click on New Site
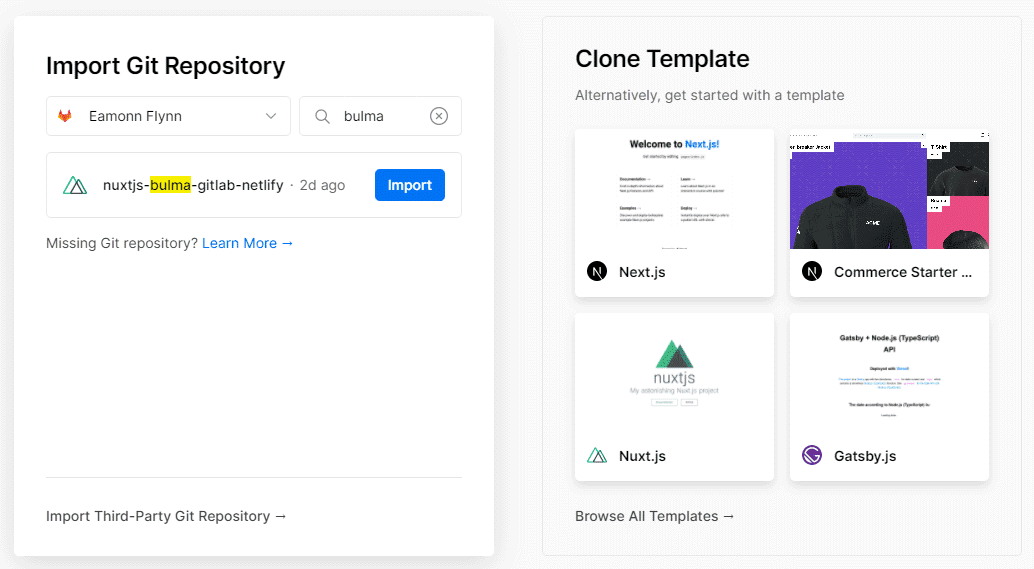
From your Gitlab account, Choose the project repo you wish to deploy
The Vercel UI offers users Deployment Quickstart templates for Next.js, Svelte, Gatsby and of course Nuxt.js
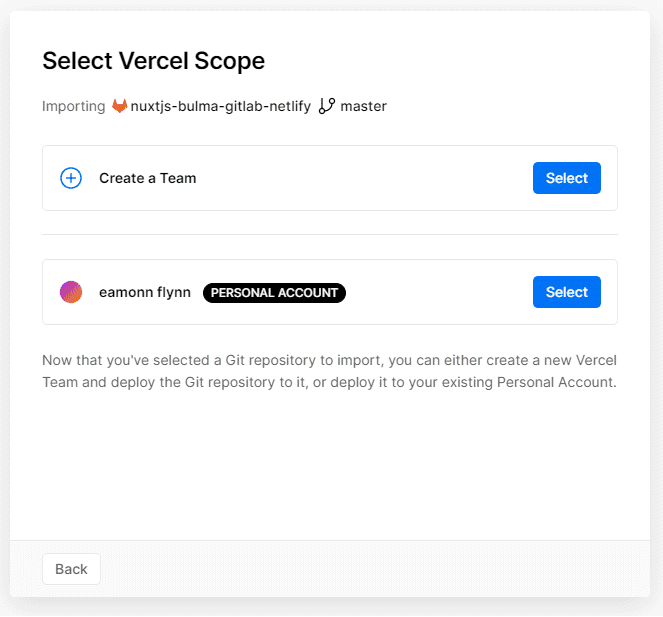
You can now setup a Team in Vercel or Map the site to your personal account. I chose the personal account here.
In the Repo chosen, I have configured both Master and Develop branches.
Vercel detects this and automatically selects the master branch.
I then can setup details about the deploment.
I have the option here to change the project name from the default value of the Gitlab Project Repo, this will be the name used as the url for my project
e.g https://<project name>.vercel.app
Depending on how your repo is setup, you can specify a separate path for the root directory.
The only other option I needed to configure was the Build command.
As I was using yarn generate, I had to add an override of
nuxt generateIf I had any Environment Variables in the project. I can set them under the Environment Variable section.
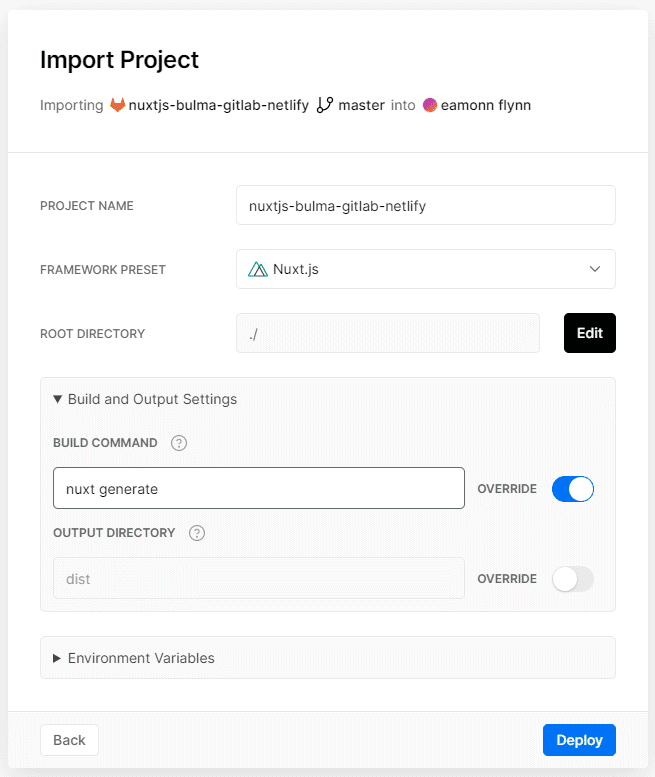
When complete, just click Deploy
You then see an activity log appear
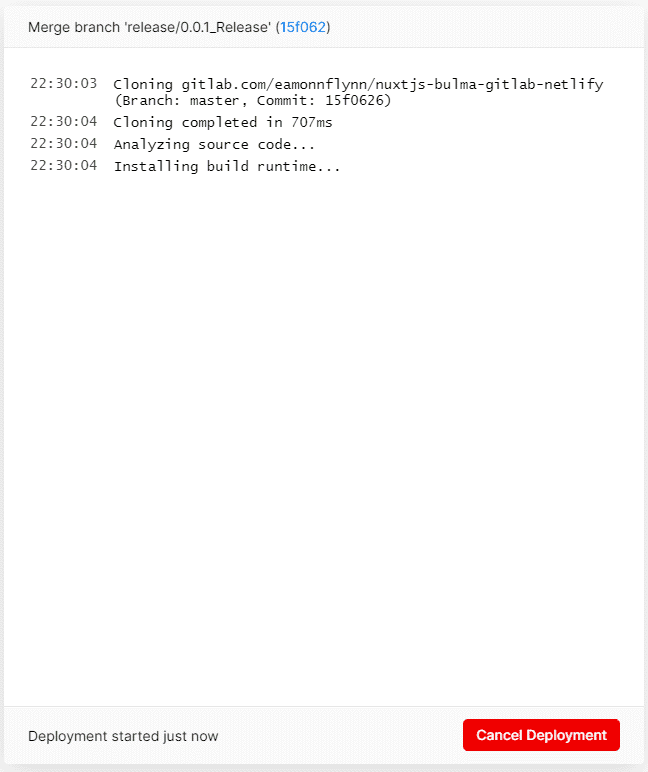
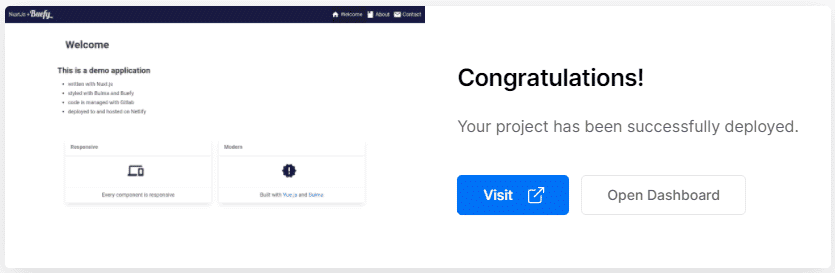
and after a couple of minutes, confirmation of a successful deployment
Summary
Like Netlify, the deployment process was very slick.
What Vercel does offer over Netlify is Analytics and also your site is automatically setup with https, which is pretty nice.
The deployment processes are so similar, the only way you can decide is to try them yourself. I think your personal preferences will determine what you will want to use. in my opinion there is not really much difference.
Personally, I like them both and will probably use both for demo sites.
If you are using Next.js I think Vercel will cater for you very well.