In the last couple of years, I have seen a few new hosting services enter the market place with a focus Static Site Hosting.
I wanted to see what the experience was like, taking a static site written in a framework like Nuxt.js and then deploying it from Gitlab using one of these services.
In previous posts, I looked at using :-
with Gitlab
In this post I am going to look at Render
Render
Render claims it offers the best of both worlds - incredible ease of use coupled with immense power and scalability to power everything from a simple HTML page to complex applications with hundreds of microservices.
Render offers Static site Hosting but also includes backend service tiers more similar to Digital Ocean or Heroku, along with PostgresSql Database Hosting and Cron Jobs.
The Static Site hosting is free and the other services start from $7 a month for more details check out their pricing page
Using Render with Gitlab
Create an Account on Render. I will usually pick the email / password option

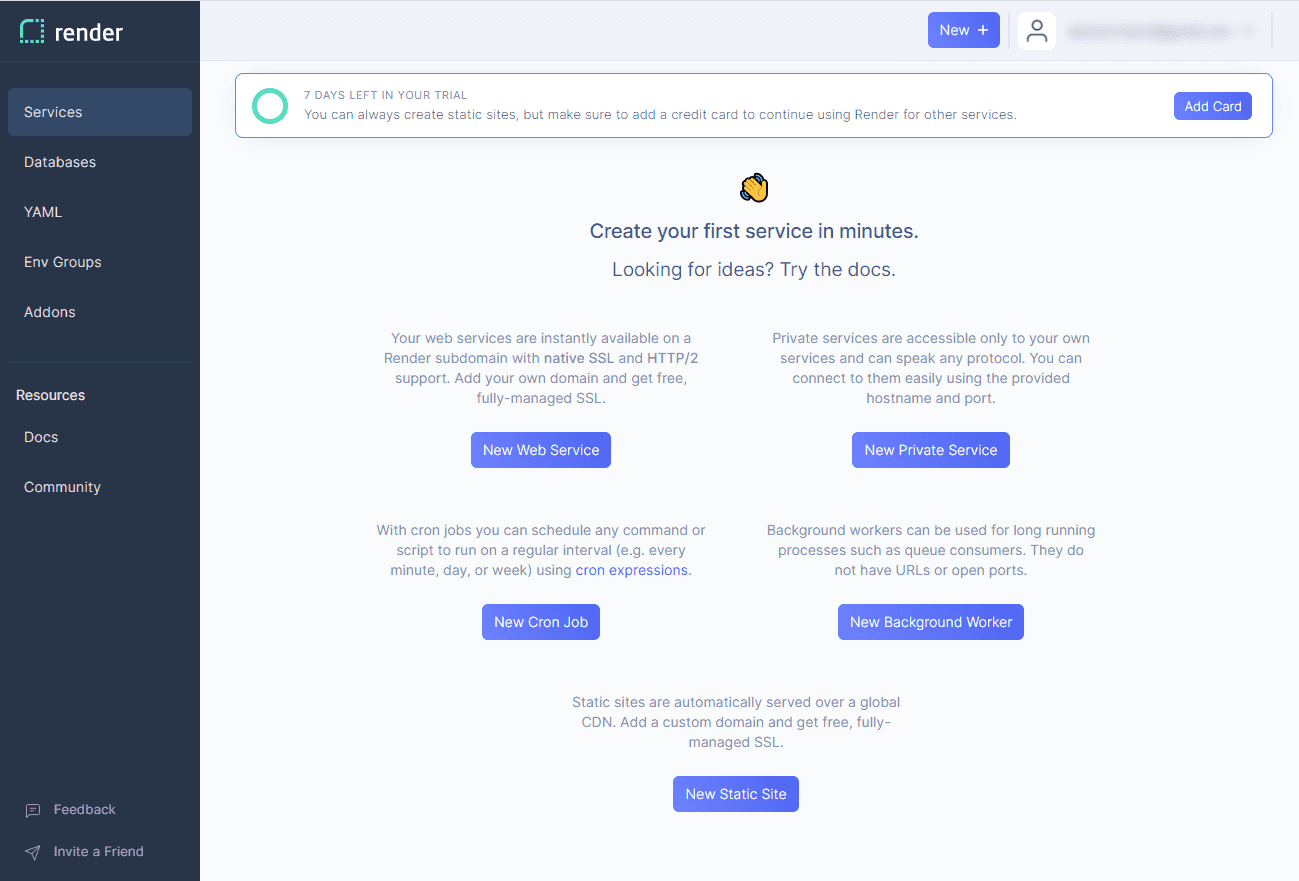
Click on the New Static Site button.
At this point, if you have not already done so. You will need to add a Git based repository. So here I setup and link my GitLab account.

Select the Project from your Repository.
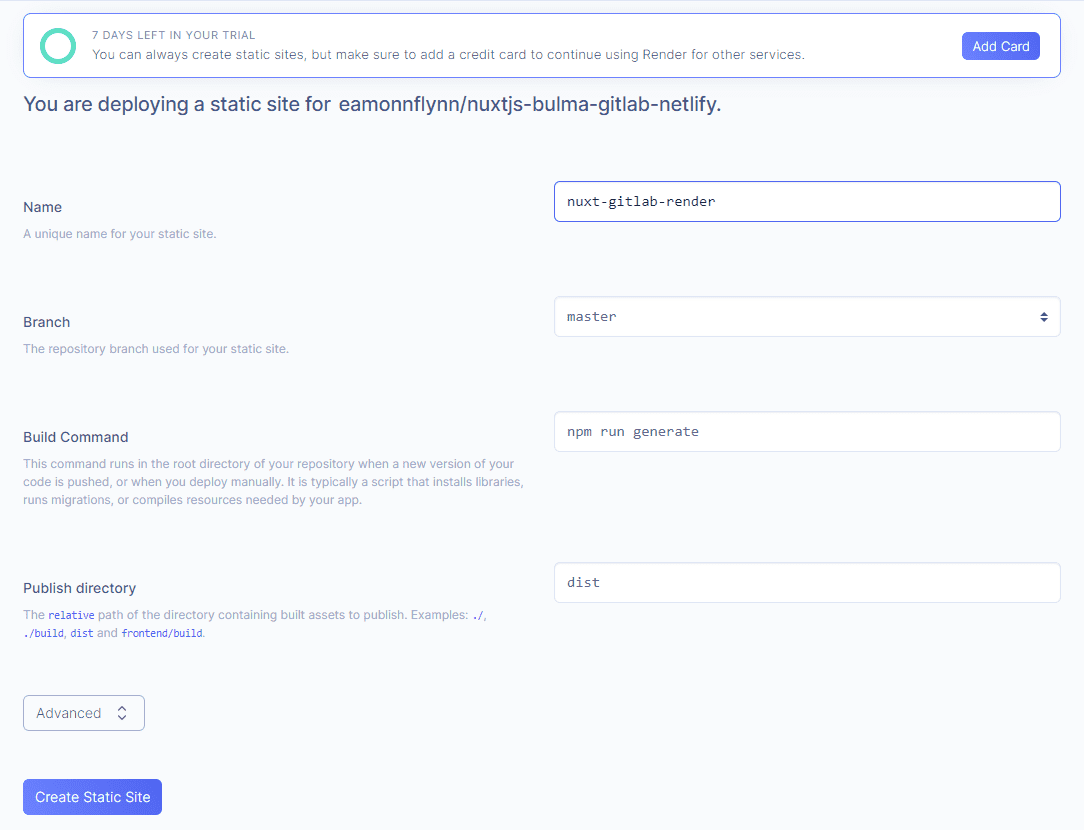
You will now need to complete some information in order for the build to be successful.
The Default values will usually be enough but if you have the project publish directory in another folder or use a custom build command, you can change it here. As you can see I have tweaked the name of the Site so its not the same as the Gitlab repository.
As the nuxt.js app uses a dist folder there is nothing else to change.

Click on the Create Static Site button.
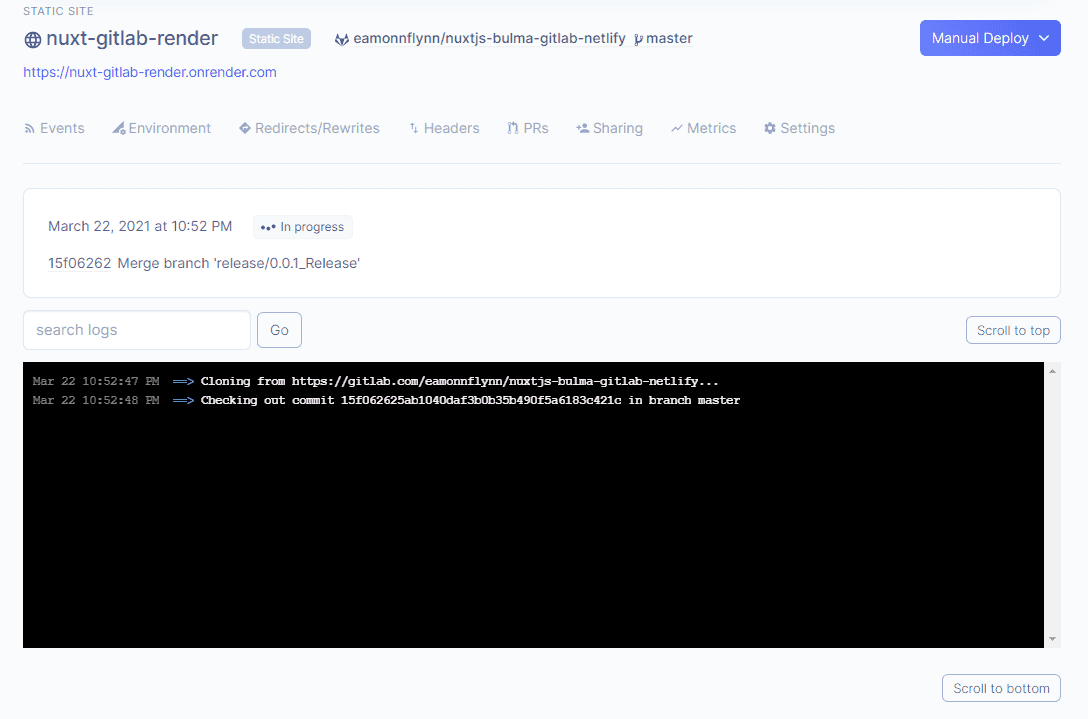
You will see a build log appear and start logging events

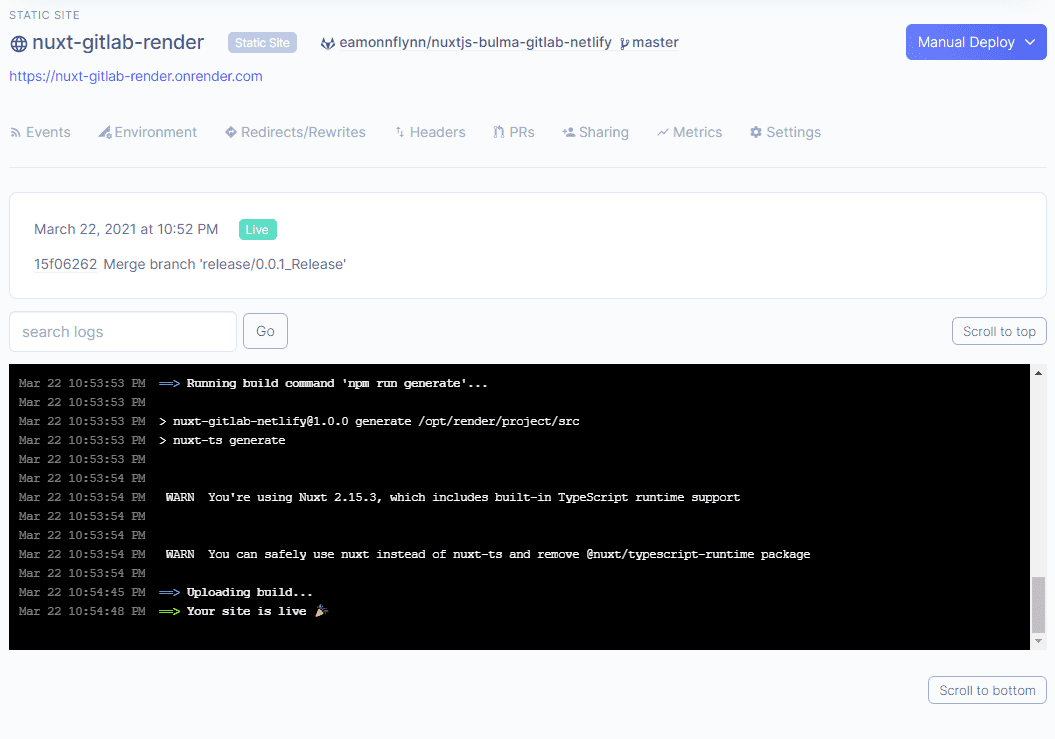
When you site is complete, the log screen should look something like this.

You can now click the .onrender.com url to view your site.
Summary
For setting up a static site, Render is simple and quick. The inclusion of additional services is a nice to have but you will need to reach for a credit card to access them.
